
Overview
Gnarles here. Time to talk about the three controls that used to eat your Saturday.
You know the cut you wanted. Slow-mo into a hold, snap back to speed, color graded so the cold open and the kicker look like they belong to the same human. That cut existed in your head for months. It just lived in a different application. You opened a project, you exported a clip, you imported the clip, you nested a comp, you keyframed the time-remap, you precomposed, you went to bed. You opened the cut the next morning. It looked like a different scene than the one you started in. Sound familiar?
We built the time-bending in directly. Slip the source. Ramp the speed. Drop an adjustment layer. Three dialogs. Drag with one thumb. Watch the curve flex. The ramp from 100% to 30% across two seconds? That ramp used to live in After Effects. We pulled it into the browser.
This is a tour of what landed.
1. The After Effects Exodus
After Effects was the gym you joined and never went back to. You paid for it. You opened it twice. You watched fifteen minutes of a tutorial that promised five minutes. You closed it.
Here's the part nobody says out loud: most cinematic time-bending is three operations stacked. Slip the in-point so the moment lands on the beat. Ramp the speed so the action breathes. Apply a color treatment so the clip stops looking like a phone clip. That's it. You don't need a node graph. You don't need a separate composition. You don't need to render a preview before you can see if you like it.
You need a dialog with a thumb-draggable curve, a preview that plays back at the right speed, and a save button that doesn't ask which codec.
The three commits that made this real were 87b000d ("Improve clip slip and ramp controls"), ce820e3 ("Add adjustment layer timeline controls"), and 342476c ("Fix speed ramp duration and mobile dialog"). Three short messages. One creative shift. Past tense, all of it — already in.
We are not going to pretend After Effects is a bad tool. Editors built careers on it. Motion designers still live in it. But the ramp from your phone clip to a watchable cut shouldn't cost you ninety minutes and a precomp. Now it costs two drags.
2. Slip Clip — What It Is, What It's For
A slip edit is the most underrated move in editing. The clip keeps the exact same place on the timeline. The exact same duration. The cut points to and from the next clip don't change. What changes is which seconds inside the source the clip is showing.
You pulled a six-second window out of a thirty-second take. You like the duration. You like where it sits in the cut. You just want it to start a beat earlier so her laugh is the in-point and not her setup line. Slip.
The Slip Source dialog is one screen. It opens with the clip's source window highlighted as a draggable band over the full source duration. You drag the band. The duration stays locked by default — a checkbox up top labeled "Lock duration" — so the only thing you're moving is which seconds get shown. The preview re-renders as you drag. The "new in frame" and "new out frame" thumbnails update to the nearest captured frame so you can see the actual moment the cut will land on.
Two numeric inputs sit underneath for source in and source out, in case you want to type a precise timecode. The out input grays out when the duration is locked, which it is by default. The grip handles on either side of the band let you resize the window if you uncheck the lock. A warning fires if you change the duration in a way that would shift the rest of the timeline — the dialog asks you to confirm before it commits.
That's the whole tool. One band. One thumb. Whole take.
If you've ever held a razor over a clip in a desktop NLE trying to nudge it three frames left without moving the cut after it — you know the rep. This is the rep without the math.
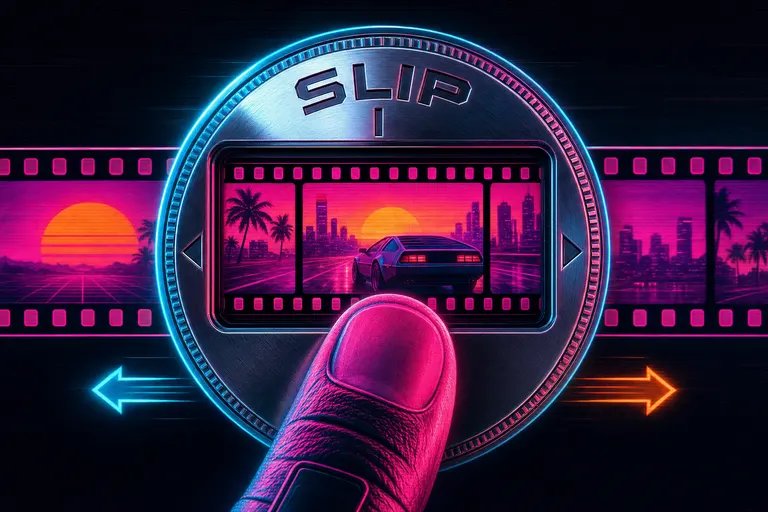
A chrome dial labeled SLIP being thumb-dragged across a magenta filmstrip, the same clip duration but a different in-point
3. Speed Ramps — The Curve Editor Without Curves
The Speed Ramp dialog is the one we sweated over. Slow-mo is the move every creator wants and almost nobody enjoys building. Try a cinematic speed ramp
We made it a single screen. Top of the screen, three toggles in a row: Preserve duration, Speed audio, Preserve vocal tone. Preserve duration is the magic one — it keeps the clip the same length on the timeline and pulls more or less of the source to fit, which is what you want 90% of the time. The audio toggles do what they sound like: speed the audio along with the picture, and keep the speaker's voice from chipmunking when you slow it down.
Underneath the toggles, a peak intensity slider that goes from 1x to 10x. Drag the peak intensity up and the whole curve scales — every point above 1x rises proportionally, every point below stays put. It's the "more cinematic" knob. One drag.
Then the preset row. Ten presets, each one a one-tap shape:
- 50% slow-in — starts soft, lands normal.
- Fast middle — compresses the center beat.
- Punch-in wrap — a tight speed punch in the middle.
- Fast out — normal start, quick finish.
- Slow out — eases into the ending.
- Speed wave — alternating motion energy.
- Double pulse — two quick accelerations.
- Snap burst — sharp middle compression with a hold.
- Slow hold — suspends a central beat.
- Speed burst — one long acceleration.
- Reset — back to 1.0x flat.
Tap one, the curve appears. Tap another, the curve changes. Tap Add point to drop a custom keyframe. Drag the curve graph to see the shape. The curve is a real SVG with circle handles on every point — you can see the slope as you build it. Underneath the graph, the ramp frame strip samples ten source frames across the ramp and shows you the speed at each one, so you can see what the slow part is actually showing before you commit.
Under that, a per-point editor — time slider, speed slider, curve type (linear, ease-in, ease-out, ease-in-out, hold), delete button. The curve type matters more than you think: a hold keeps the previous speed flat until the next keyframe, which is how you build a "freeze on the punch and snap back" without four extra keyframes.
The thing we got right: the preview plays at the actual ramped speed. Not a static thumbnail. The clip player inside the dialog reads the curve in real time and changes its playback rate as it scrubs. You see the ramp before you save it. That's the rep that used to live in a precomp.
The commit that fixed the last sharp edges of this was 342476c — "Fix speed ramp duration and mobile dialog." Short subject line. Big quality-of-life shift. The mobile version of the dialog now scrolls cleanly, the source range no longer drifts when you preserve timeline duration, and the dialog body sizes to fit a phone screen edge-to-edge with one rem of margin. You can ramp on a train.
::
4. Adjustment Layers — Color and LUT Timelines
A LUT is a lookup table. A color treatment. The reason your handheld 4K phone clips look like cell phone clips and a colorist's cut looks like a movie. Open the adjustment layer panel
You used to apply one to a single clip. Then to the next clip. Then to the next clip. Then you'd realize the third clip was a different camera and the LUT looked wrong on it. So you'd back the saturation off on that one. Then you'd forget which clips had which version. By midnight your color was a patchwork.
We added adjustment layers as a real timeline track. One layer. Spans whatever range you want. Every clip underneath it gets the treatment. No relinking. No baking. No nesting.
The Adjustment Layer dialog is short:
- Name — what you want to call this layer.
- Start and End — numeric inputs in seconds, defaulted to the current playhead range.
- LUT — a dropdown with six presets: None, Warm, Cool, Cinematic, High Contrast, Faded.
- Intensity — a 0% to 100% slider that controls how strongly the LUT pulls. Default is 70%, because 100% is almost never what you want.
- Color — four sliders: Brightness (-1 to +1), Contrast (0 to 3), Saturation (0 to 3), Gamma (0.1 to 10). Each one shows its numeric value next to the label as you drag.
That's it. Save. The layer appears on its own track in the timeline, with distinct styling so you can tell it apart from your video clips. Drag the layer to cover more or fewer clips underneath. Done.
The commit was ce820e3. It also taught the timeline how to show adjustment-layer clips with distinct styling, so the track manager and the track UI know an adjustment track is a different beast than a video track. The dialog defaults are tuned for the common case — intensity 0.7, contrast 1.0, saturation 1.0 — so dropping a layer with the Cinematic LUT and saving instantly gives you a watchable grade.
If you want one look across a whole project, drop one adjustment layer across the whole timeline. If you want a treatment that only applies to your B-roll act, drop a shorter layer over just that act. The LUT pulls through. The color sliders pull through. Your cuts stay clean.
If your library has bought looks in it — colorist-built LUT packs and graded presets from the marketplace — adjustment layers are the canvas you paint them on. You buy the look once. You drop it over the act. You move on.
::
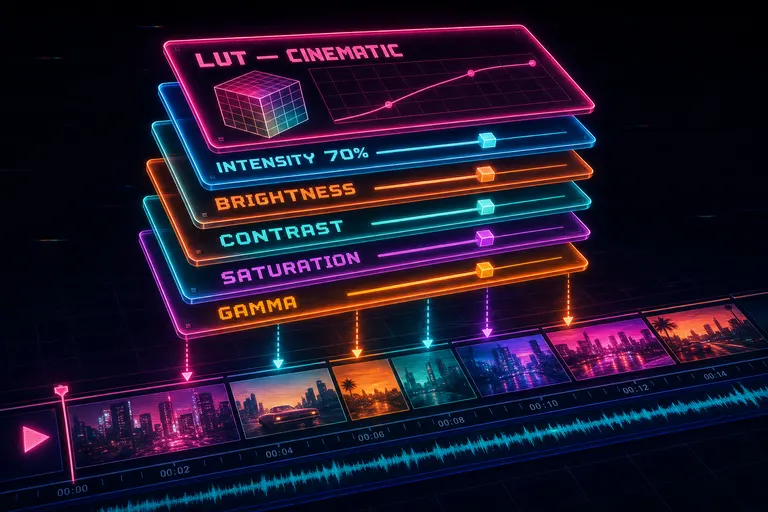
A stack of translucent neon color-grading slides hovering over a strip of clips, labels for LUT, Intensity, Brightness, Contrast
5. Walkthrough — A Cinematic Ramp From Raw Clip to Final
Let's run a rep. Wedding shoot. You shot the first dance handheld at 4K60. You have a two-minute take. You want to pull a 12-second cinematic moment out of the middle. Slow-mo into the dip, hold on the look, snap back. Color graded warm.
Rep 1: Slip the in-point. Drop the take onto the timeline. Trim it down to roughly the moment you want. Open Slip Source. The lock is on by default. Drag the highlighted band left until the new in-frame thumbnail shows the head turn — not the setup. Save. The clip is still the same length. The cut to the next shot still lands on the same beat. The content inside the window shifted three seconds.
Rep 2: Ramp the speed. Open Speed Ramp. Make sure Preserve duration is on. Make sure Speed audio is off — you don't want chipmunked dance music. Tap the Slow hold preset. Curve appears: 1.2x in, dipping to 0.35x in the middle, holding flat across the look, easing back to 1.1x out. Drag the peak intensity slider down a touch — maybe 4x feels too aggressive, 2.5x feels right for the room. Watch the preview re-render at the ramped speed. The frame strip underneath shows you a Polaroid of what the slow part is actually showing. Look at it. Is the slow part landing on the look? Yes? Save.
If the slow part isn't landing on the look, pop back into Slip Source for fifteen seconds, nudge the in-point, save, come back to the ramp. Two dialogs, three drags. Done in under a minute.
Rep 3: Color treatment. Add an Adjustment Layer above the clip. LUT: Warm. Intensity: 70%. Maybe nudge contrast to 1.15 and saturation to 1.1 so the dance lights pop without going neon. Save.
Hit play.
That's the cinematic ramp. From a raw 4K phone clip to a slow-hold money moment in three short dialogs. No precomp. No render preview. No nested timeline. You can do this on a phone, sitting on a couch.
Reps in. Reps out.
A quick note on the math: with Preserve duration on, the dialog pulls more or less of the source to fit the curve, centered on your current source midpoint. If the curve asks for more source than is available, the dialog throws a soft warning. With it off, the timeline-side duration of the clip changes to match what the curve consumes. The default is the one most editors want.
You don't need to know any of that to use it. You need to know which toggle to flip. The toggle is right there at the top of the dialog, labeled in English.
---
The point isn't that we built three new dialogs. The point is that the cinematic ramp is no longer a separate application. The cinematic ramp is the editor.
That's a different kind of editing. Not "fix it in post." More like write it in the room. The reps are quick enough that you do them while the take is still warm. You see the slow-mo before you forget what you wanted it to feel like. You see the color before you forget what you wanted it to mean.
A creator at 1:47am isn't usually struggling with creative judgment. They know what the cut should feel like. They're struggling with the tax their tool charges to enact that judgment. The tax used to be a precomp. The tax used to be three applications. The tax used to be a render preview.
The tax is now three drags. The judgment is still yours.
If you want the finishing polish after the time-bending — pacing, dead-air, jump-cut smoothing, all the small-and-slow stuff that takes the last twenty percent of the time — the Polish button is one tap away. Hand the small stuff off. Keep the ramp.
See you on the timeline.
— Gnarles
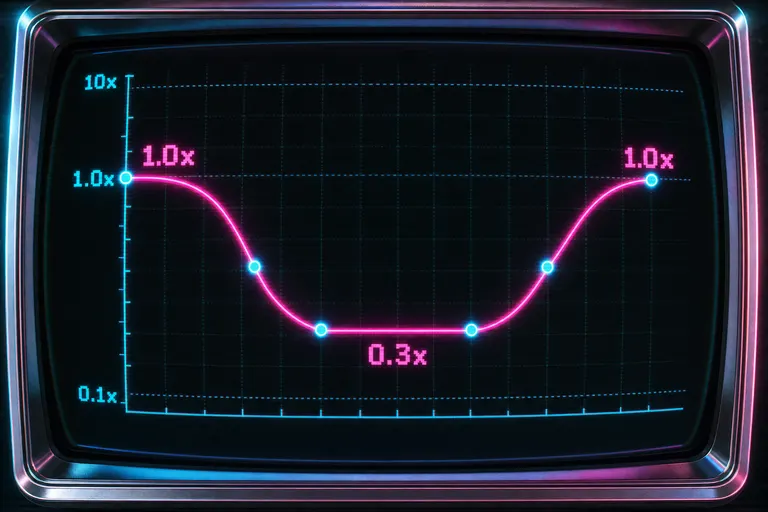
A glowing magenta speed curve drawn over a CRT graph, dropping from 1.0x to 0.3x and back, with cyan keyframe dots
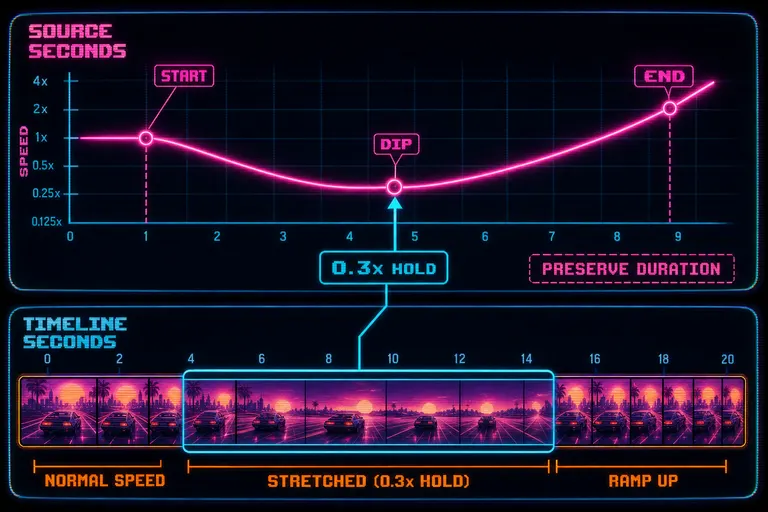
Diagram of a clip on a timeline with a speed curve floating above it, labels showing source seconds versus timeline seconds
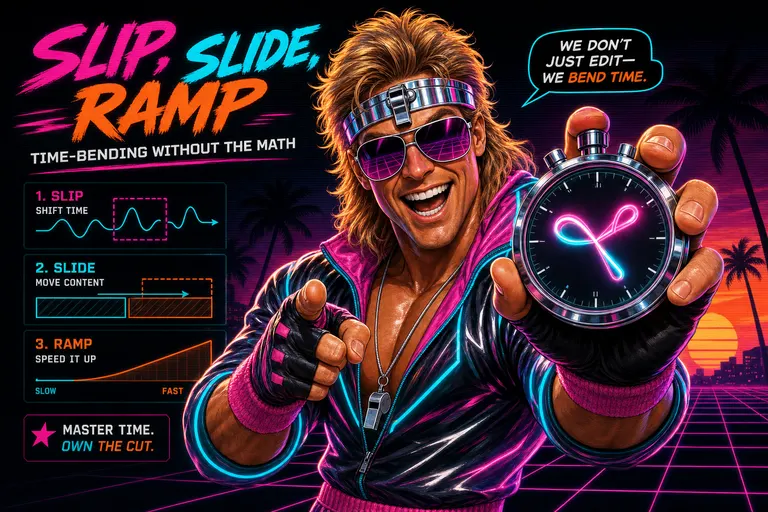
Gnarles in a chrome-rim sweatband holding a stopwatch made of neon ribbon, grinning at the camera
Try the workflow
Open every feature from this post in the editor
These panels collect the features discussed above. Sign in once, finish your profile if needed, then the editor opens the first highlighted surface and walks through the tutorial.