Overview
A chrome iMovie filmstrip tilting on a pedestal as its end frame dissolves into a glowing magenta VibeChopper timeline
What iMovie taught us (no apologies)
iMovie taught a generation how to cut. We owe it that.
Before iMovie, "video editing" meant a five-thousand-dollar workstation and a guy named Frank who wouldn't return your calls. iMovie was the room a million creators learned in. It was where you figured out that a cut is a feeling, not a button. Where you discovered the first three seconds of a clip are almost always trash. Where you first felt the rush of dragging a transition onto a timeline and watching a story start to breathe.
If you're reading this, there's a real chance iMovie is why you're a creator at all. Drag-and-drop. Free. Already installed in the school library. That's a generation's on-ramp. Apple still ships it free for Mac, iPhone, and iPad — no watermarks, no hidden paywalls, which is more than almost any other tool in the space can say (Filmora).
So this post is not a dunk. It's a graduation.
You're outgrowing iMovie the same way you outgrew a starter guitar — not because the guitar was bad, because you got better. The voice in your head started directing harder cuts than your hands could deliver. You started shipping more. That's growth. That's reps. That's the whole point.
Now pick the next room. There are two real upgrade paths in 2026, and the only people who'll tell you they're the same are the people selling one of them. I'll be honest about both.
The five ceilings you hit
Every creator who outgrows iMovie hits the same five ceilings. Not in this order, not all at once, but always all five.
Ceiling 1: Two video tracks
iMovie caps video at two simultaneous tracks (Apple Discussions). Enough for picture-in-picture, a green-screen overlay, a split-screen joke. Not enough for a talking-head with B-roll over it and a lower-third over that and a brand bug in the corner. Stack a fourth thing — the timeline tells you no.
Ceiling 2: Basic transitions, no keyframe motion
The transition palette is the dictionary, not the thesaurus. Cross-dissolve, fade, wipe, slide. Clean. The same ones your audience has seen ten thousand times since Saved by the Bell.
What iMovie cannot do is keyframe animation or curved speed controls (Splice). When the voice in your head says ramp this skate clip from one hundred to thirty over two seconds, then snap at the trick, iMovie cannot hear that voice. That math lives in Final Cut Pro, in After Effects, or in a chat panel that already understands curves.
Ceiling 3: Audio gets flat fast
iMovie's mixer is built for a single host, a single song, a sound effect or two. No true multitrack mixer, no bus routing, no per-clip EQ that lives up to Final Cut Pro's standard. When you export a project with stacked audio, every layer collapses into a single stereo track on the way out — no surround, no separated stems (Apple Discussions). For a podcast clip with a host, a guest, a music bed, an SFX layer, and a duck-the-music-when-anyone-talks rule, iMovie asks you to fight it.
Ceiling 4: Batch is not a thing
iMovie was designed for one project at a time. One vacation, one wedding, one school recital. That model breaks for the modern creator who comes home from a wedding with sixty clips, from a podcast with three cameras plus a separate audio track, from a daily Reel grind with seven shoots a week. There is no "ingest the whole shoot, describe every frame, transcribe every word, and tell me what's in it" button. That button doesn't exist because iMovie isn't that kind of tool.
Ceiling 5: Flat sharing, and the next NLE charges you for it
iMovie's share menu renders to MP4, MOV, or HEVC and uploads somewhere. What it doesn't do is hand a client a scrubbable preview link with comments, or hand the next tool a rich project file with your decisions intact. The XML bridge to Final Cut Pro exists (Apple Support), but it carries basic cuts and some transitions — multi-track tricks and auditions don't survive the trip (Alex4D).
That wall has a price on it. Final Cut Pro on Mac is a $299.99 one-time purchase, iPad is $4.99/month or $49/year, and the new Apple Creator Studio bundle is $12.99/month (MacRumors). Premiere Pro is more. CapCut's subscription is more. Every door past iMovie costs money, time, or both.
The five ceilings aren't iMovie's fault. They are the shape of what iMovie is. You hit them because you grew. Now you choose a room with a higher roof.
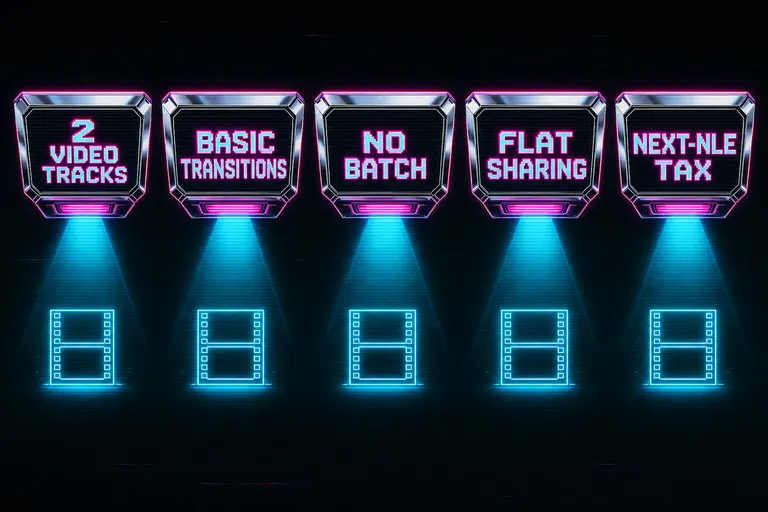
A diagram with five chrome ceiling tiles labeled with the five iMovie limits creators hit
Path A: Final Cut Pro (the craft-deep upgrade)
Some of you reading this should take Path A and we don't want to talk you out of it. Try the chat-first upgrade
Final Cut Pro is the natural upgrade from iMovie for one specific creator: the one who loves the craft of editing and wants more knobs on the console. The interface inherits iMovie's drag-and-drop DNA. The magnetic timeline is a sophisticated version of the thing you already use. The track count opens up. The mixer becomes a real mixer. The color tools become real color tools.
Apple keeps the on-ramp generous: a 90-day free trial (Miracamp), and an iMovie-to-Final-Cut transfer initiated from inside iMovie itself (Apple Support). They built that bridge on purpose. They know who graduates.
Final Cut Pro is the right answer if:
- You want to sit at a timeline and edit with your hands, frame by frame, beat by beat, and that motion is the part of editing you love.
- You're shipping documentary, narrative, music video, or commercial work where the cut deserves nine hours.
- The one-time $299.99 price is a fair trade for a tool you'll use for a decade.
This is a real group, not a small one. If that's you, take Path A. Final Cut Pro has earned the place it holds in the world.
What Path A is not: a fix for the wrist-marathon problem. You're still the one doing the cuts. The console is bigger and finer-grained, but you are still the one doing the work, and at the volume modern creators ship in 2026, that work eats your nights.
If "I love editing for nine hours, I just want better tools" is your truth — Path A is yours. Take it with pride. If it isn't — keep reading.
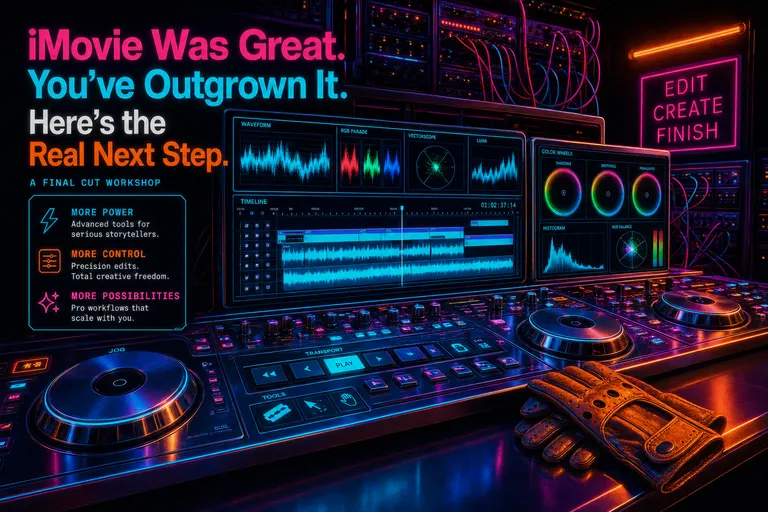
A chrome workbench covered in jog wheels, waveform meters, and a magnetic timeline glowing cyan in a Final Cut workshop
Path B: The chat-first upgrade
The other upgrade path is the one nobody told you about while you were learning iMovie, because it didn't exist yet.
You skip the next console entirely. You direct the cut in plain English, and the AI does the wrist work. Your job becomes the part you actually wanted to do all along — the creative part. The "where does this scene want to land, what should be cut and what should be held" part. The directing voice in your head finally has a hand on the timeline.
This is what we built VibeChopper to be.
It looks like a chat panel. It isn't. It's a director's intercom that knows your footage. You typed — or you spoke — what the cut should be, in the same language you'd use to brief a junior editor. Trim the first five seconds of clip three. Cut between the laugh and the reaction. Drop the music when the founder is talking. Add a lower-third on the second host. Polish the whole timeline for dead air. The AI read your project, found the moments, made the cut. We wrote about that conversation in Tell It What You Want. Watch It Cut.
Underneath the chat panel, the five ceilings iMovie hit are simply gone. Not because we got cleverer with menus. Because the model knows the footage.
- Track count: as many as the edit needs. The AI doesn't ask which track to put the lower-third on. It puts it where it belongs.
- Transitions and motion: cinematic ramps, cross-dissolves, dip-to-black, dip-to-white, wipes — and the speed math is a sentence, not a curve panel. Ramp from one hundred to thirty over two seconds. Done.
- Audio: every clip's transcript was indexed the second the audio uploaded. The mixer knows who's talking. The polish step ducks the music for you.
- Batch: drop the entire shoot into the upload queue, walk away, come back to a project where every frame has a description and every word has a timestamp.
- Sharing: hand a client a scrubbable preview link without exporting.
The voice in your head was the editor all along. The chat is just the place that voice finally gets to talk.
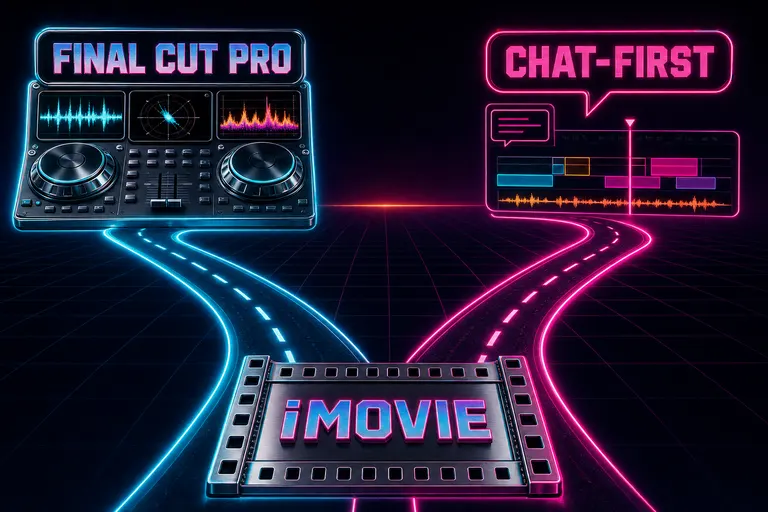
A diagram of two glowing roads diverging from an iMovie filmstrip — one to Final Cut Pro craft tools, one to a chat-first chopper
When each path is right (the honest table)
Two paths. Two real creators. No "one is better" answer. Import your iMovie footage
Take Path A (Final Cut Pro) if:
- The act of editing — the physical, frame-by-frame craft of it — is something you enjoy and want to get better at.
- You're shipping fewer, bigger projects: a documentary, a music video, a commercial, a narrative short.
- The deliverable is "a polished cut" and the cut is the whole product.
- You'll use color grading, advanced audio mixing, and motion-graphics tools you'll spend years learning.
Take Path B (chat-first / VibeChopper) if:
- You ship a lot — daily Reels, weekly YouTube, three podcasts a week, ten client cuts a month.
- The act of cutting itself is the bottleneck, not the joy.
- You shoot on a phone or a small camera and the footage is already on your phone.
- The deliverable is "a video that goes up tonight" and your taste, not your wrist, is the limit.
- You'd rather review four AI drafts than drag a razor tool four hundred times.
A lot of you will recognize yourselves in both lists. That's fine — a lot of creators use both. A craft-deep editor opens VibeChopper to ingest a wedding shoot in batch and draft the first cut, then opens Final Cut to finish the hero piece. A daily-Reel creator opens VibeChopper to ship Tuesday's post and never touches Final Cut at all.
What you should not do is take iMovie's natural-graduation suggestion as the only path. Final Cut Pro is one upgrade. Chat-first is another. Pick the room that matches the work you're actually shipping in 2026. For the fuller map of the whole tool landscape, see Adobe Premiere Pro vs the Rest in 2026 and DaVinci Resolve Is Not Hard. But It's Wrong for Most Creators in 2026.
Gnarles on a neon couch with a phone in hand, speaking into a chrome microphone as a magenta timeline auto-edits on a CRT in front of him
Migration: what to do with your iMovie projects
You decided. Whichever path you picked, here's how the footage moves over.
If you're going to Final Cut Pro
Apple did the work for you. Inside iMovie on Mac, open the project, choose File → Send Movie to Final Cut Pro. The project file and the media land in your Final Cut library together (Apple Support). Basic cuts, titles, and most transitions survive. The fiddly stuff — auditions, multi-cam, the wider color work — those you'll learn fresh on the Final Cut side, because iMovie didn't have them to send. The XML bridge exists too, but use the direct-transfer path when you can (Ripple Training).
If you're going to chat-first
Even simpler. Your footage was probably already on your phone or in a folder on your Mac. You didn't need to "export from iMovie" at all. You needed to get the raw shoot into the new room.
Drop the whole folder of source clips into batch upload. The chopper ingested every clip, described every frame every half-second, transcribed every word with speaker labels, and built a project where every moment was searchable by what was in it.
Then you talked to it. "Cut the wedding into a four-minute reel. Open on the bride's mom crying. Close on the first dance. Keep the speeches under thirty seconds each. Add lower-thirds for everyone who spoke." Twenty minutes later, you reviewed a draft. You said "swap the toast clip for the longer one" and it did. You shipped before the couple's flight home landed.
You did not edit at 2am. That was the whole point.
If you want both
Keep iMovie open for the home stuff — the vacation clip, the school recital, the thing that doesn't need a real editor. That's a healthy use of iMovie. It was never trying to be your professional tool. It was the room you learned in, and it'll still be the room your kid learns in.
Outgrowing a tool is not the same as discarding it. The starter guitar earned its place on the wall.
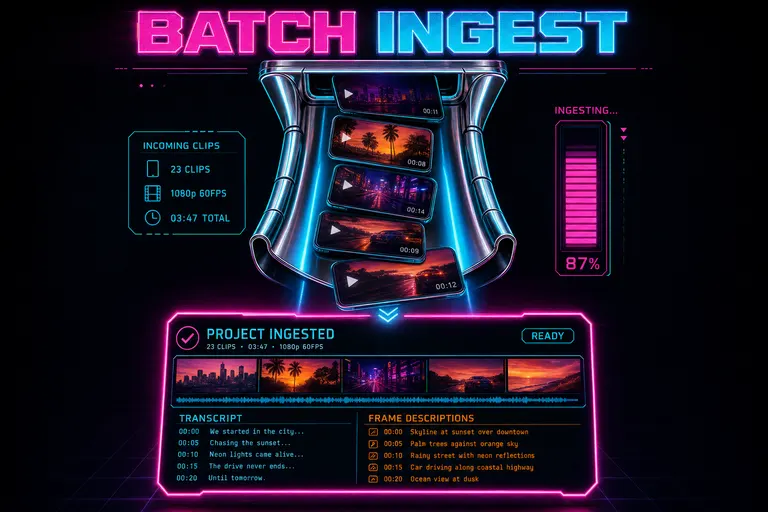
A stylized depiction of the batch upload panel — a stack of phone clips dropping into a chrome chute and emerging as a fully ingested project
Sets and reps for the next room
You learned cuts in iMovie. You learned that the first three seconds are trash and the last beat is the keeper. You learned that a transition is a feeling, that audio is half the cut, that a story is not a list of timestamps.
You take all of that with you. The taste is yours. The room was the room.
Now pick the room with the higher roof. Final Cut Pro if your hands are part of the joy. VibeChopper if your taste is the part you want to put more reps into. Both rooms have the door open. Both rooms know where you came from. Neither room is going to make you start over.
Thank you, iMovie. We owe you the generation we became.
See you on the timeline.
— Gnarles
A chrome iMovie filmstrip taking a bow on a neon-lit stage as a magenta sunset rises behind it
Try the workflow
Open every feature from this post in the editor
These panels collect the features discussed above. Sign in once, finish your profile if needed, then the editor opens the first highlighted surface and walks through the tutorial.
Step 1
Try the chat-first upgrade
Tell it what you want the cut to be. Watch the timeline obey. No menu hunt, no track count to memorize.
Try the chat-first upgrade →Step 2
Import your iMovie footage
Drop your whole shoot into batch upload. Walk away. Come back to a project that's already described, transcribed, and ready to direct.
Import your iMovie footage →